
The BEST Way to Organize Your Wedding Day Decor Items
LET’S TALK ABOUT MY MOST-FAVORITE THING EVER: ORGANIZATION.
Particularly how you can organize your wedding day “stuff” <– technical term, yes.
You and I both know that you have this elaborate plan on how you’re going to have everything all neat and together and you’re going to organize it as you put in your car and everything is going to be awesome.
Well, everything is going to be awesome, BUT things are going to get shoved into a bunch of random cardboard boxes, thrown into a random car, and shuffled around because everyone is rushing to get to where they need to be for the wedding rehearsal. Sorry, it’s the truth. So, here’s how to avoid that and organize your wedding items like a rockstar.
Buy/find/borrow/steal these:
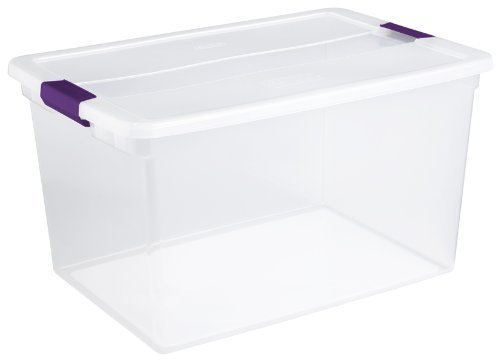
If you don’t have them lying around your house, I highly recommend snagging these from Amazon. 70-ish quart ones work best, but you could go smaller too.
These will be a LIFE SAVER. And they could always be used after the wedding for Christmas decorations, sweater storage, what-are-we-going-to-do-with-all-this-wedding-stuff storage, etc.
Here’s what you do in 4 easy steps:
Organize your items by “area”. For example, ceremony, cocktail hour and reception. This is ESPECIALLY important if your ceremony and reception are in two different locations and much less important if everything is in the same general location.
Place the items into the bins the best way they fit. The lid is optional in my opinion but it helps to avoid stirring en route and allows them to stack on top of each other. You can also use as many bins as you need for each area.
You can technically stop there. But for bonus points, I recommend making a separate inventory list of what’s in each bin. The list can be handwritten, typed and printed, placed on a label, post-it, scrap paper – depends how stellar you’re feeling. Include the item, it’s purpose (if it isn’t obvious) and the quantity. (See the examples below for the types of lists I mean.)
Place that list in the bin or stick it directly on the bin itself.
Once everything is organized and labeled, you officially have a great system that will make you look like a rockstar organizer and will ultimately help keep things a bit more sane when you’re heading out the door. These bins and lists will also help your planner (or venue coordinator) when it comes time to setup and pack everything back up at the end of the night.
PRO TIP: Make sure to remove any stickers or labels PRIOR to packing. You’ll also want to assemble (as much as possible) any items that may have arrived in pieces.
Example Inventory List
These are just examples and you may have more, less or different items than what’s listed here.
BIN 1 | CEREMONY:
(100) Ceremony Programs
(1) Flower child basket
(1) Unity Candle and (2) Taper Candles
(1) Marriage License
(1) Ring Bearer Pillow
(4) Reserved Seating signs
BIN 2 | RECEPTION A:
(150) Favors
(5) Family picture frames
BIN 3 | RECEPTION B:
(1) Bar menu
(150) Dinner Menus
BIN 4 | RECEPTION C:
(1) Guest book and pen
(1) Card container
(1) Cake cutting set
(15) Table numbers
See how nicely that works?
AND, if you have something that’s WAY too big to go into a bin, cram it in add it to a list that matches the area it goes to. Add a note of *not in bin* so your planner/coordinator knows where to find it and how it goes back to you at the end of the night.
So, what do you think? Think it’s possible? Worth the extra bit of organization time? I vote yes.
This post contains affiliate links. If you make a purchase through these links, you will not pay a penny more, but I’ll receive a small commission. I would recommend these products regardless of the commission.